
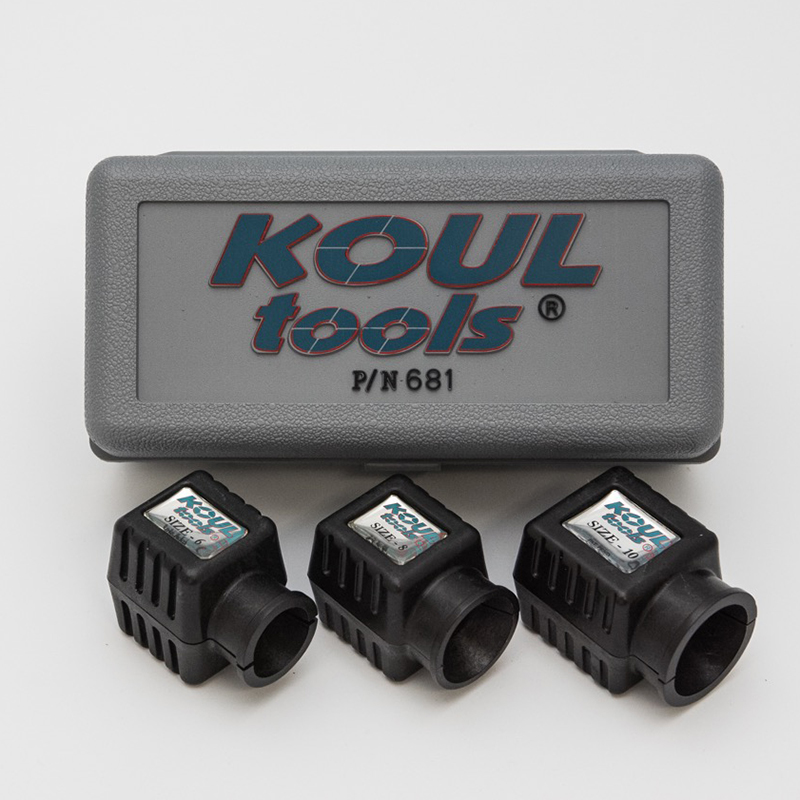

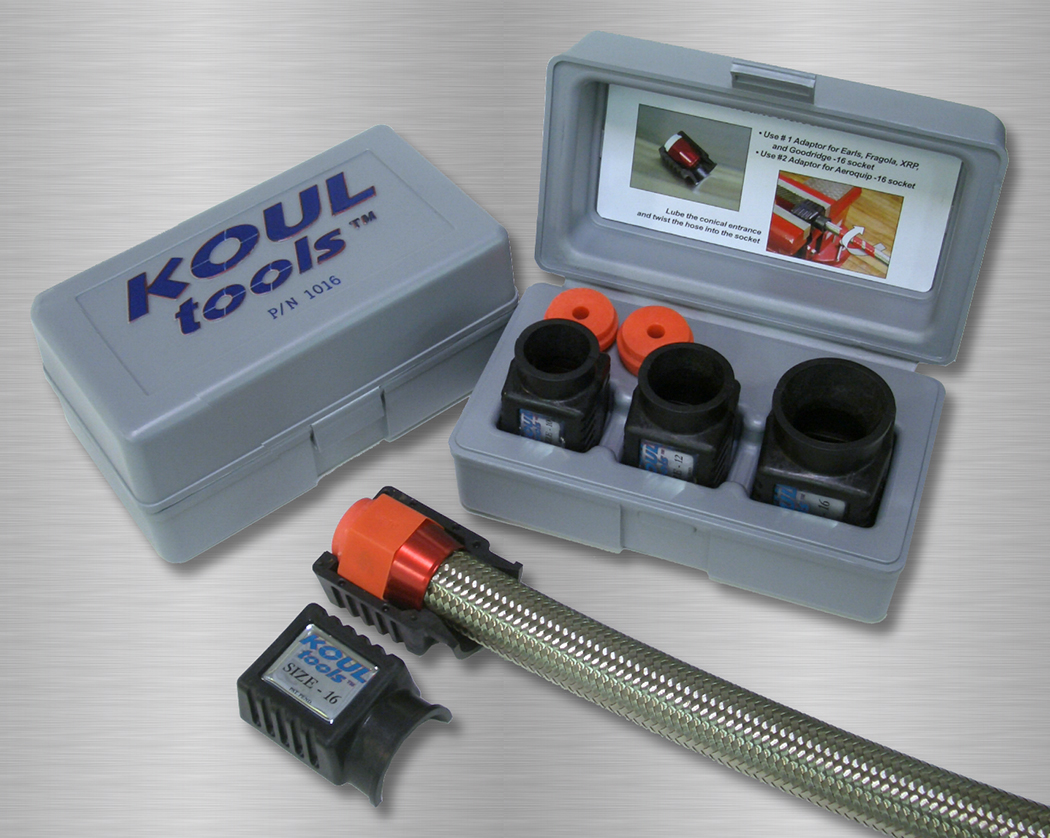
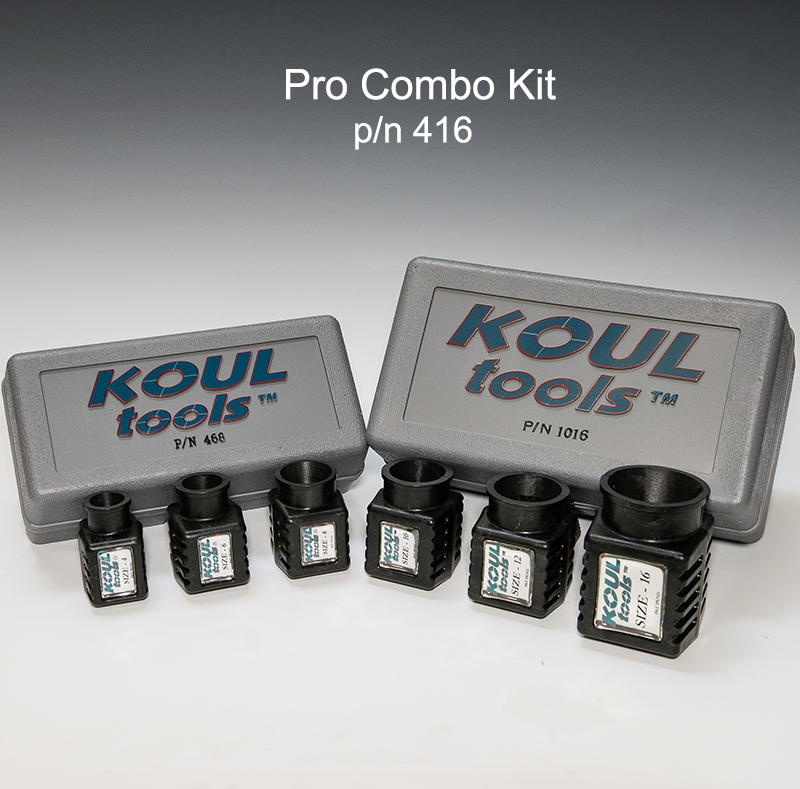

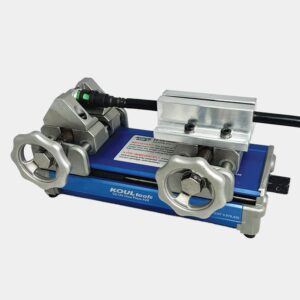
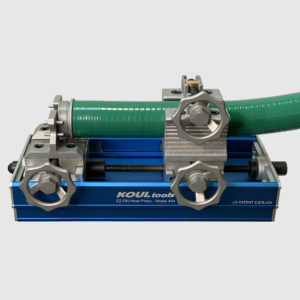
AN Hose Assembly Tool
Price range: $30.00 through $150.00
- Installs braided, stainless steel hose into AN fittings.
- Works with nylon, braided AN hose.
- Includes spacers and sleeves for different sized sockets.
– Free shipping on orders over $99 in the continental United States.
– International orders: Please contact us to place an order.
* Does not work with PTFE fittings. Does not work with Evil Energy fittings.
* Fit tested: Earls, Aeroquip, Russell, Goodridge, XRP, Redhorse, Summit.
US PATENT 7,818,856
Select size to view image and part #
Related products
-
-
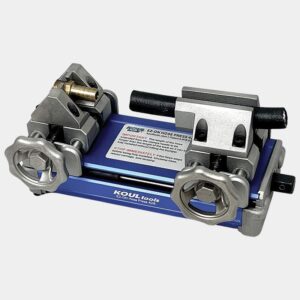
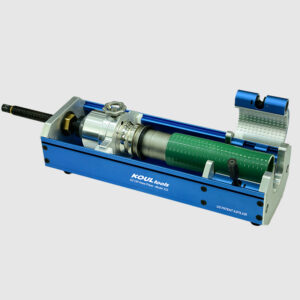
Nylon Fuel Line Tool
Price range: $80.00 through $445.00Select options This product has multiple variants. The options may be chosen on the product page -
-
Michael Fain (verified owner) –
Great idea
Works well
Matt sanford (verified owner) –
I wish I purchased this tool years ago! I love them, huge time saver, no bloody fingers and perfect fittings every time!
Mark Ryckman (verified owner) –
Great tool! Works like it’s supposed to.
Doug Kilarski (verified owner) –
Couldn’t do without it when making AN connections! Great invention.
oliver –
This is amazing. A must have for anyone putting an fittings on braided hose. My fingers are saved! Thanks for the invention.
Ohler Kinney (verified owner) –
Great tools. I have the sizes I need and all are real time and hand savers. The correct installation insures a quality no leak assembly. Never assemble braided hose without these tools!
Dale Conrad (verified owner) –
Great tools. Perfect every time. Saves on bad language and tempers
Al Frank –
Can’t say enough about Dick @ KoulTools and the level of customer service he provided me. If you want a company that stands behind their product look no further than this company
Kevin Whitt –
These work fantastic. I bought both kits. Quick and easy to do. I would love to buy the push on AN fitting product. But it is a bit pricey. I highly recommend.
Nick (verified owner) –
works beautifully! super easy to use, used it with -10AN lines and the shim it came with, mounted it in my vice and installed the hose in a matter of 10-20 seconds with ease. well worth the money
David Taylor –
Attention world. Buy This! I have fought with braided steel for years getting little tiny cuts on my fingertips every time. Just put together an entire run from fuel tank, thru the pump, thru the regulator to a set of dual quads in 40 minutes, including measuring and cutting the hose. 40 minutes!